
Pick & Pack
The Pick and Pack feature makes it easier and faster to add multiple items to an invoice. Instead of manually selecting products one by one, you can create a predefined set of items that are frequently sold together. When creating an invoice, you can simply choose this set, and all the items will be added automatically in just a few clicks. This saves you time, reduces errors, and ensures a smooth billing process.
How It Works:
When you use Pick and Pack, a pre-set group of items is automatically added to the invoice.
Unlike the Bundle feature (which adds a fixed set of items without any changes), Pick and Pack gives you flexibility—you can add or remove specific items as needed.
Benefits of Pick and Pack:
-
Saves Time – No need to manually select multiple items; just load them instantly.
-
Flexibility – Modify the set by adding or removing items based on customer requirements.
-
Fewer Mistakes – Reduces the chances of missing items or making selection errors.
-
Efficient Billing – Makes the invoicing process faster and more convenient.
This feature is especially useful for businesses that frequently sell certain combinations of products but still need the option to adjust orders based on customer preferences.
-
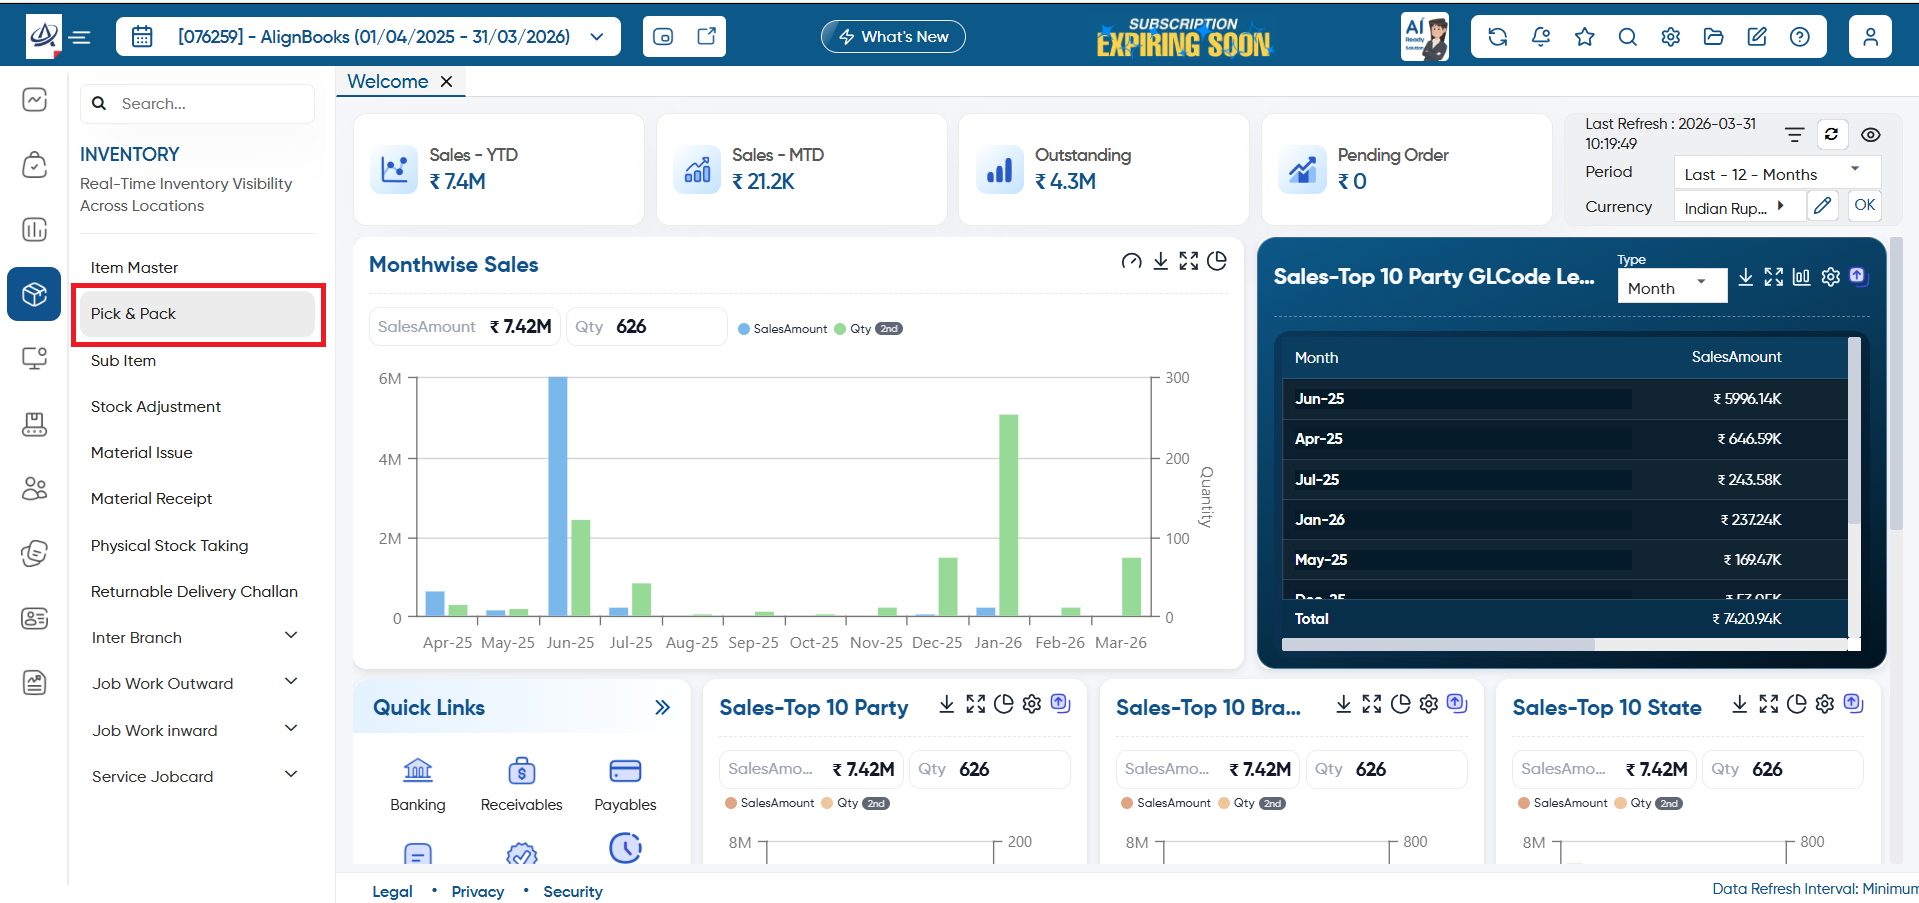
Go to Inventory > Pick & Pack.
-
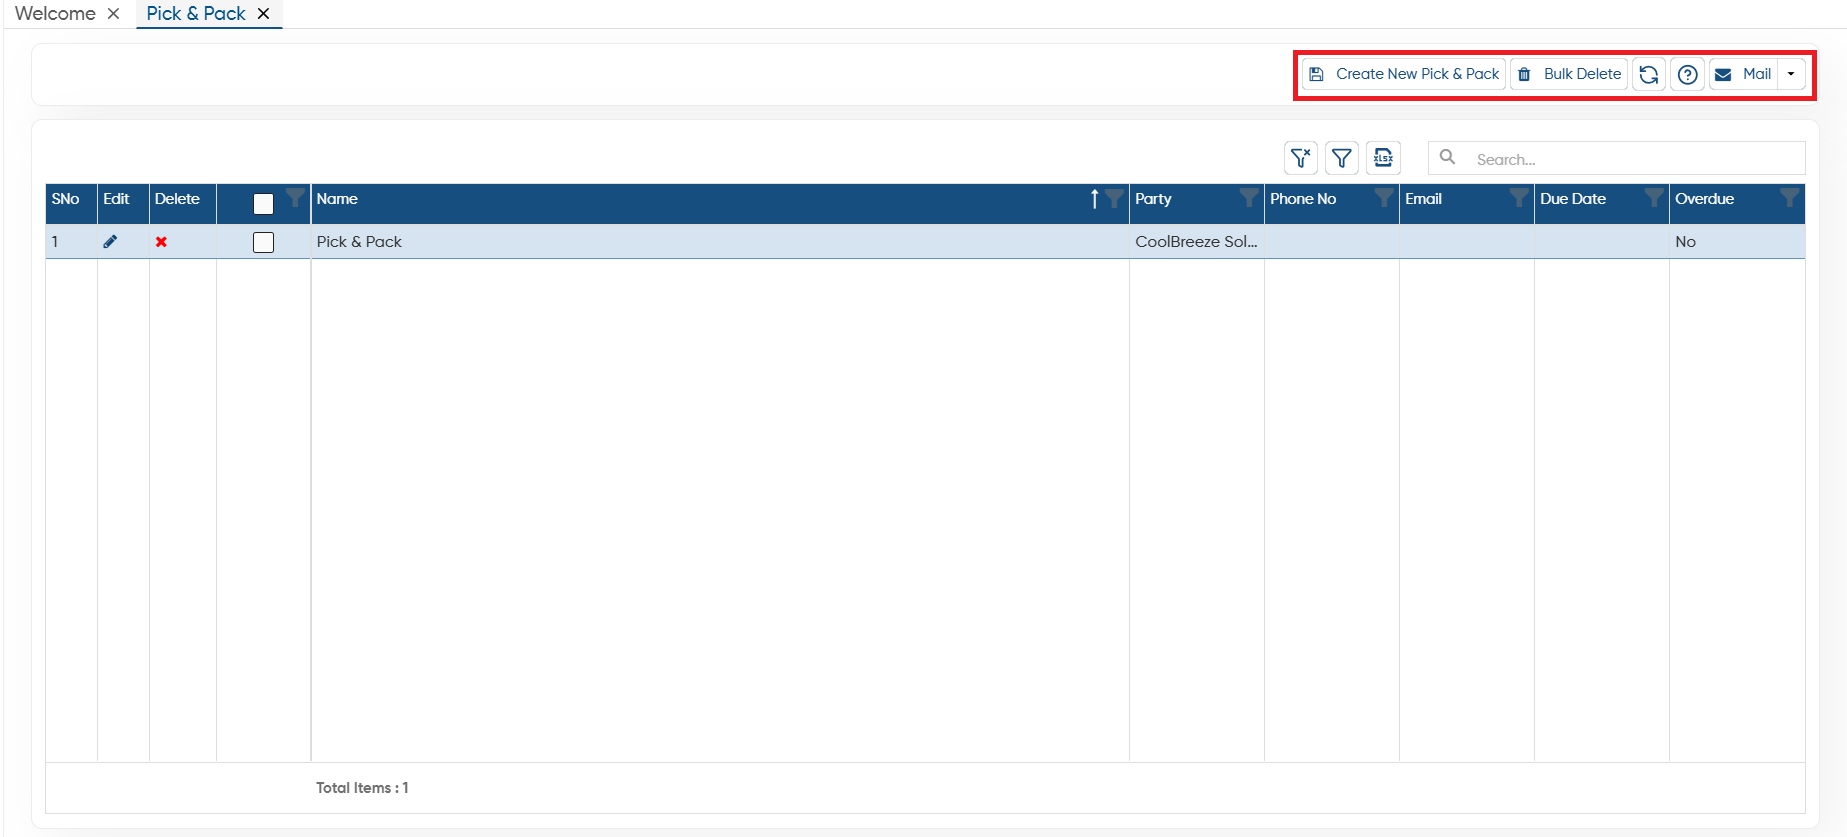
Create New Pick and Pack: To add new Pick and Pack details click on 'Create New Pick and Pack'.
-
Bulk Delete: To delete Multiple Pick and Pack at once, tick the check box and click on 'Bulk Delete' button.
-
Refresh: If after making changes to any pick and pack or newly added pick and pack does not display on the screen, click on the 'Refresh' icon, this will refresh the data and display with latest changes to the pick and pack.
-
Help: To access the help manual related to the feature, click on the given icon.
-
Mail: Click on the option, to share the whole list via, SMS, Email, or WhatsApp.
-
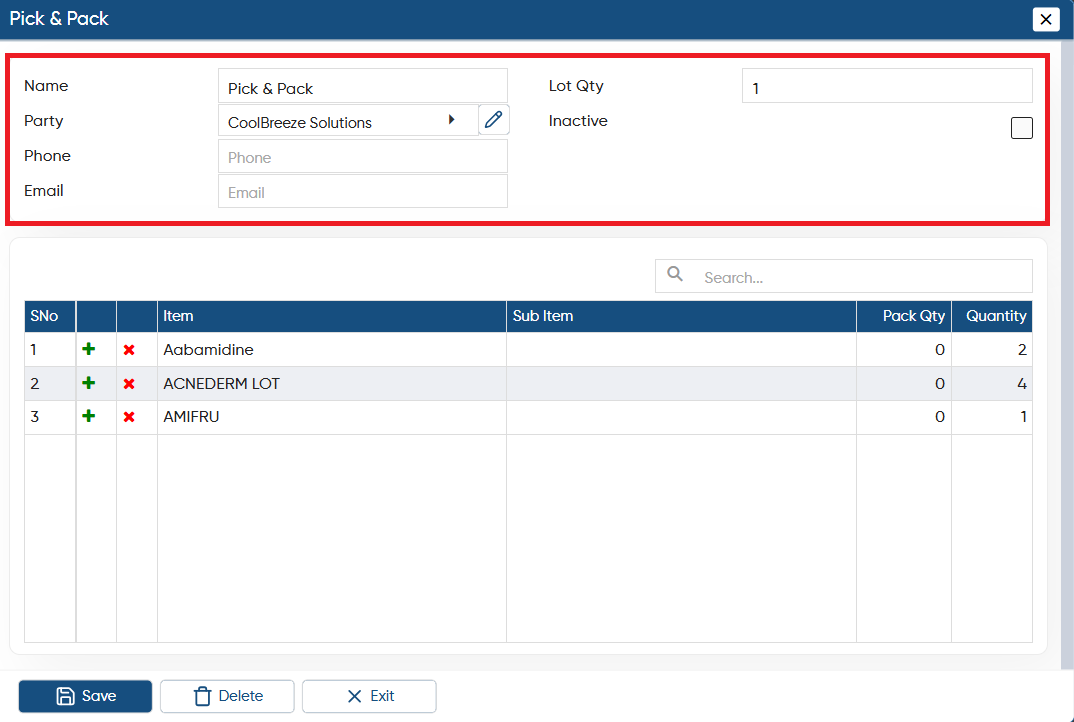
Name: Mention the name of the Pick & Pack for your identification.
-
Party: Select the party, if you want to fix the pick & pack for specific party.
-
Phone: Mention the phone number of the party.
-
Email: Mention the Email of the party.
-
Lot Qty: Here, you have to enter the quantity for which you are creating the Pick & Pack.
-
Inactive: Tick the checkbox if the Pick & Pack is currently not active.
-
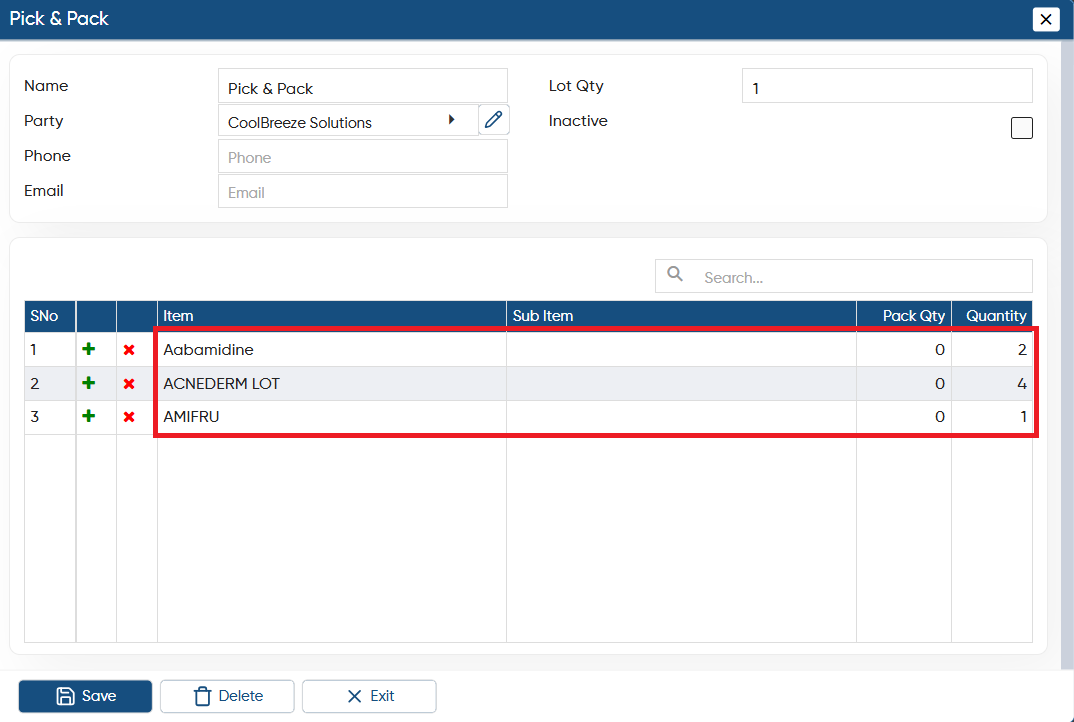
Now, select the items one by one and mention the quantity which are required to add for the System.
-
Click on 'Save' button.
 Click on the Edit icon to make any changes to the pick and pack.
 Click on the cross icon to delete any specific pick and pack.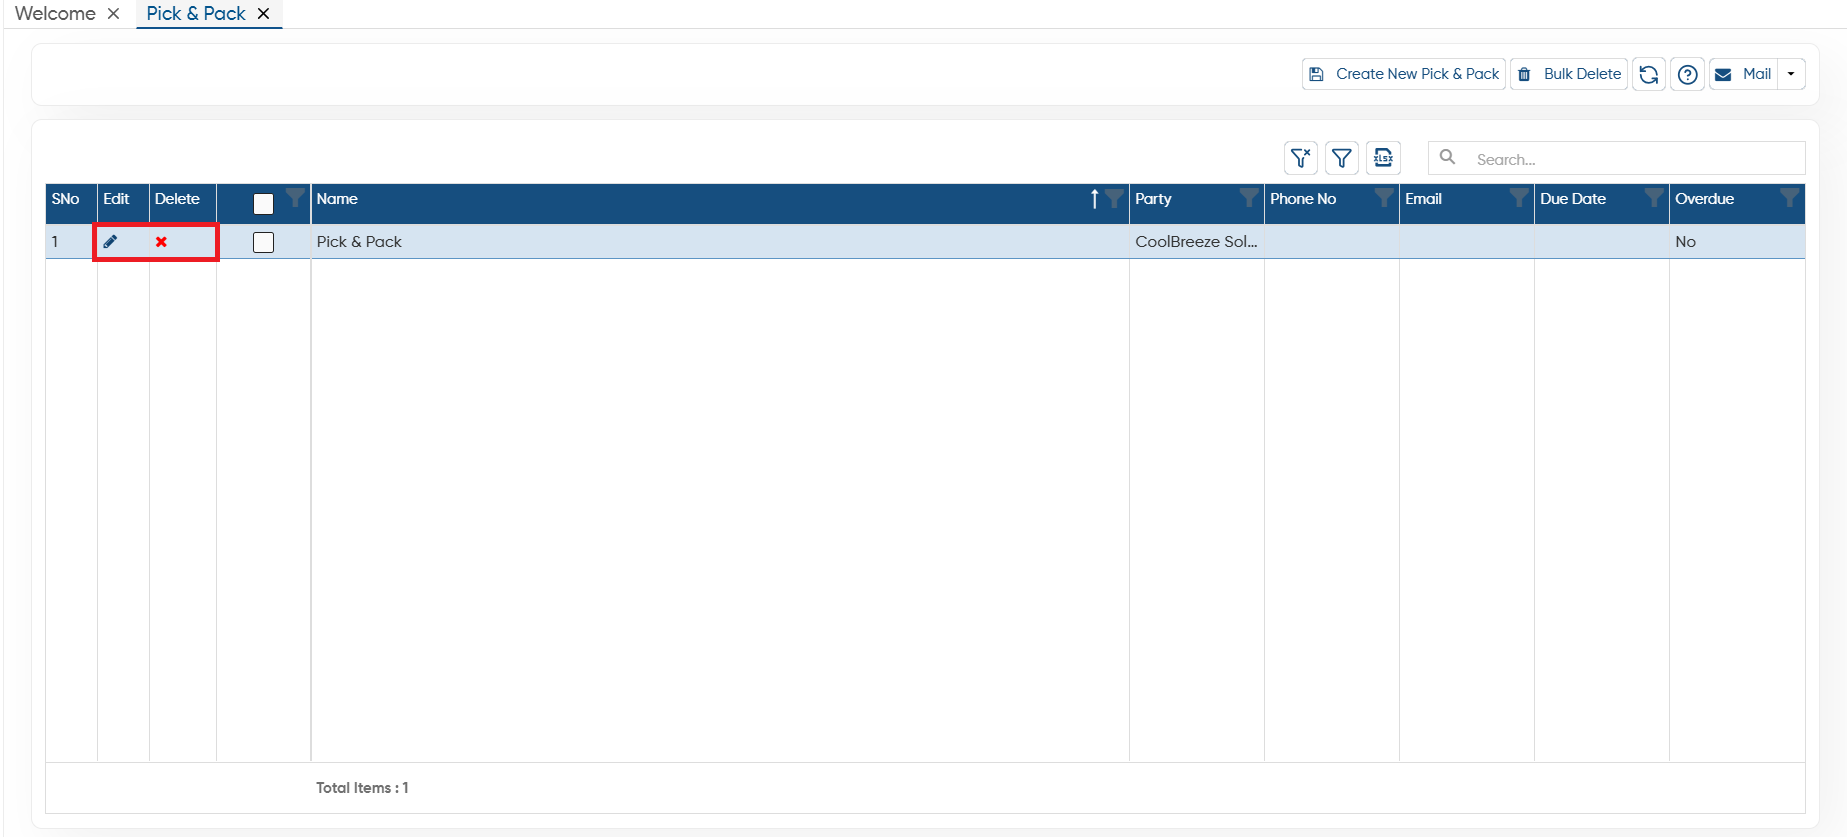
-
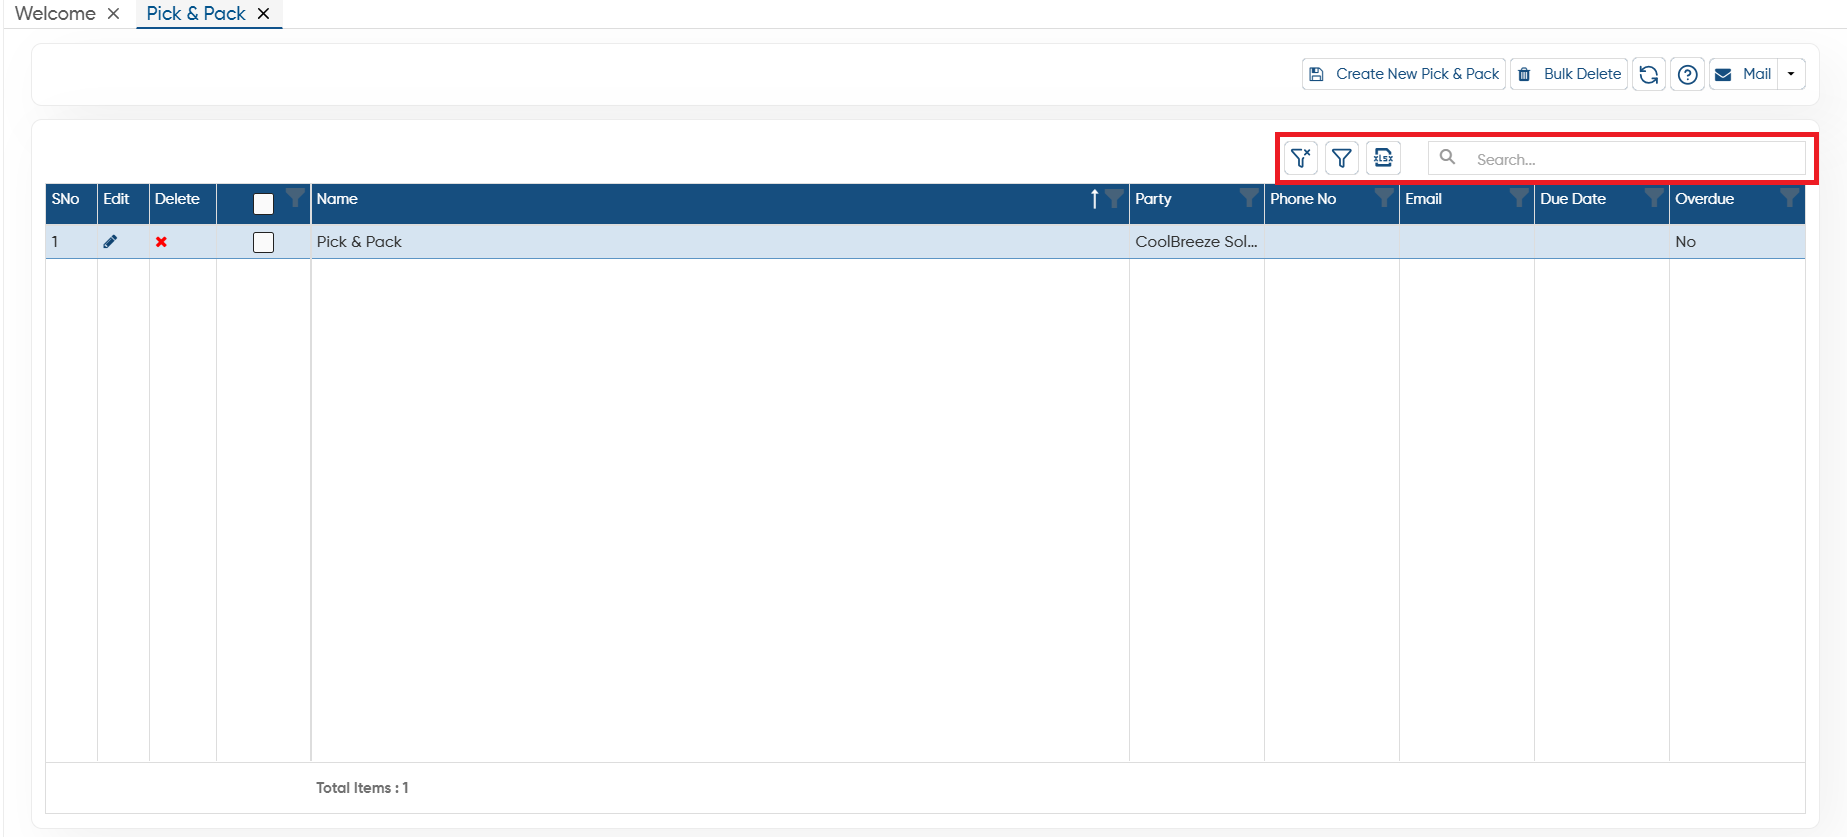
Clear Filter: After enabling the Filter if you want to remove all filter click on this button.
-
Show Filter: To enable the Filter click on the button, it will display the filter option for each column.
-
Excel: If you want to generate the pick & pack in excel file, click on the icon and all the items details will be generate in Excel File.
-
Search: To find any of the pick & pack from the list, type the item Name, Code or specific Branch, Group, Type etc the software will display the result on the screen.
In this way you can Create and Manage Pick and Pack in AlignBooks.