
Cheque Return
A Cheque Return Entry is the process of recording a financial transaction when a cheque that was either deposited or issued gets dishonored or bounced by the bank. This occurs when the bank is unable to process the cheque due to various reasons, leading to a reversal of the intended transaction.
Common Reasons for Cheque Return:
-
Insufficient Funds: The issuer’s account does not have enough balance to cover the cheque amount.
-
Incorrect Details: Errors in the cheque, such as mismatched names, incorrect amount, or invalid date.
-
Stop Payment Request: The issuer has instructed the bank to stop the cheque from being processed.
-
Signature Mismatch: The signature on the cheque does not match the one on record with the bank.
-
Stale or Post-Dated Cheque: The cheque is either past its validity period (usually 3 months) or dated for a future date.
-
Account Closed or Frozen: The issuer’s account is no longer active or has been restricted due to legal or compliance reasons.
-
Alterations Without Authentication: Any changes made on the cheque without proper verification can lead to rejection.
In AlignBooks, you can effortlessly record a transaction when a cheque is bounced or dishonored. Additionally, if the bank imposes charges for the bounced cheque, you can include those charges in the records as well.
-
Go to Sales > Cheque Return.

-
Open: This option allows you to view all the return cheque entries you have created in the software. If you required to make any changes in the documents you can click on 'Open' icon, select the date range and can make changes in it.
-
Delete: With this option, you can remove or delete a entry permanently.
-
Copy: This feature lets you copy the document and create a new one based on the same details, which you can then modify as needed.
-
Help: Click on the help icon to access the step by step guide of the Cheque Return Process.
-
Calculator: AlignBooks includes an inbuilt calculator that you can use while working within the software, making calculations easier.

-
Cancel: If you no longer need an open document but don't want to permanently delete it, click on the ‘Cancel’ button. This will cancel the document but keep it in the list, allowing you to restore it whenever needed.
-
Recall: This option is used when a customer bill (POS Invoice) is put on hold. You can click on this option to retrieve the held invoice and continue billing from where you left off.
-
Restore: If you click on a cancelled document, the ‘Restore’ option will appear, allowing you to restore the document to its previous state.
-
Schedule: If you need to create the same document with the same details regularly on a fixed schedule, you can set up a Schedule for it. The document will then appear in the ‘Post Recurring Module’ of AlignBooks. From there, you can post the document with just one click, without having to prepare it repeatedly. This also serves as a reminder for you.
You can only schedule the document after you have saved it. The schedule option is not available while you're in the process of creating the cheque return entry.
|
-
UI Configuration: For additional settings related to this voucher, navigate to the configuration option. There, you can adjust settings such as invoice numbering, email, WhatsApp, SMS, approvals, and more.
-
Print Configuration: This option lets you customize the voucher print settings, including header/ footer remarks, terms & conditions, and setting the default invoice format etc.

-
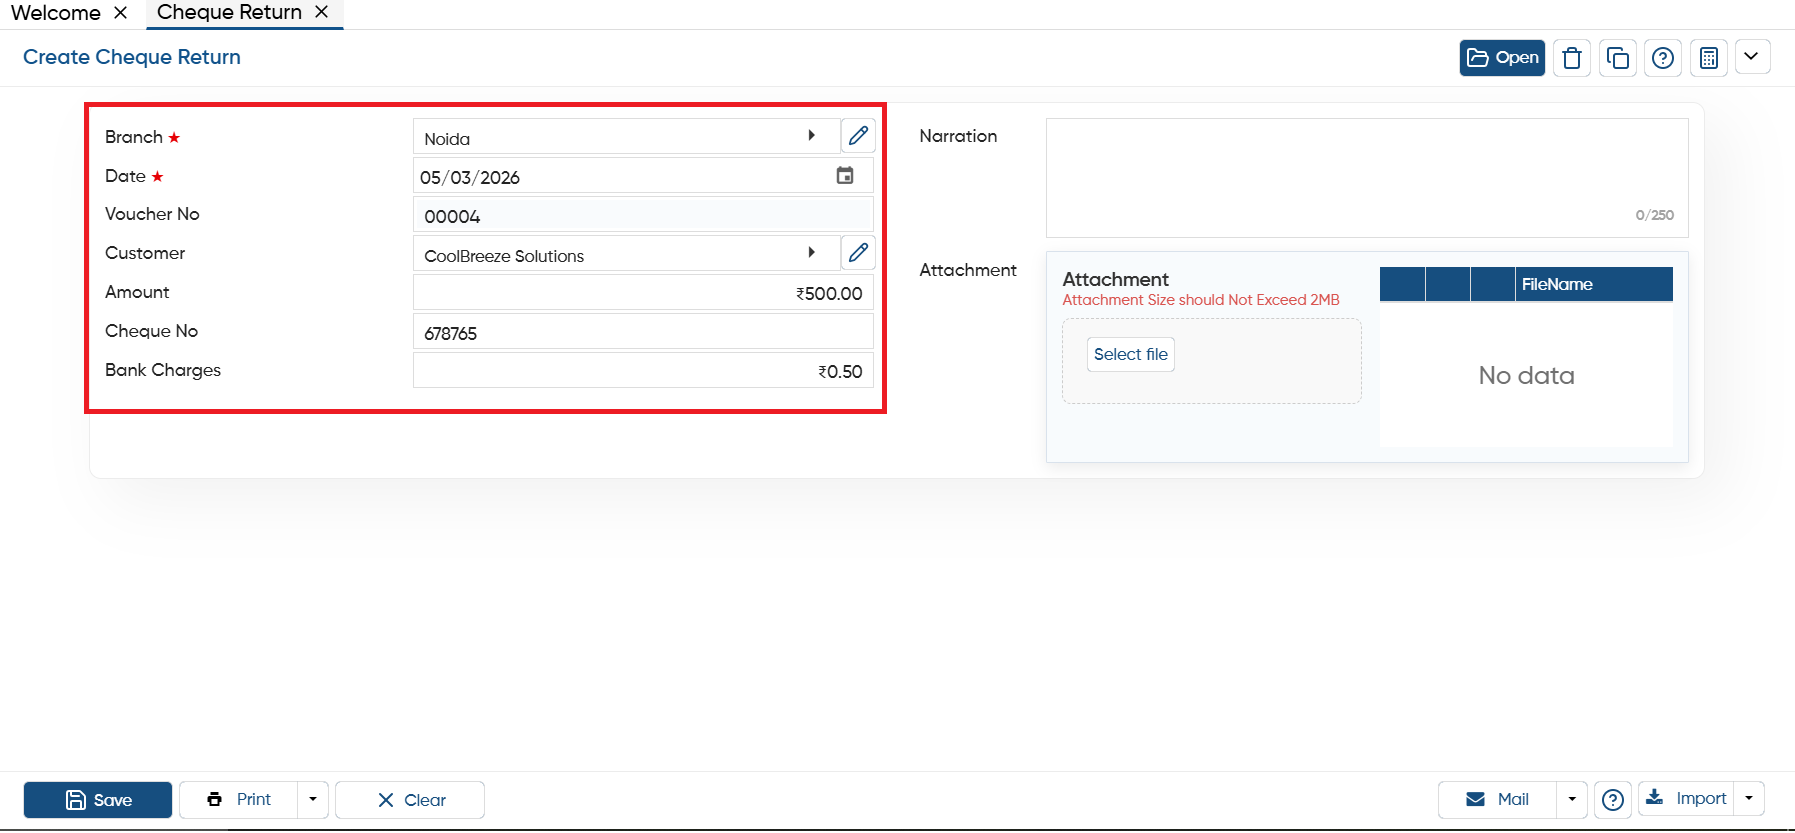
Branch: If your company has multiple branches, they can be in the same state or different states. Therefore, select the branch in which you want to post the transaction.
-
Date: Mention the date on which you want to record the transaction.
-
Voucher No: The software will automatically picks the voucher number based on the prefix and suffix configured.
-
Customer: Select the customer name whose posted the cheque and it gets bounced.
-
Amount: Mention the amount of the cheque.
-
Cheque No: Here, you need to specify the cheque number.
-
Bank Charges: When the Cheque gets bounced or returned the bank can imposed some charges which you can mention here.
-
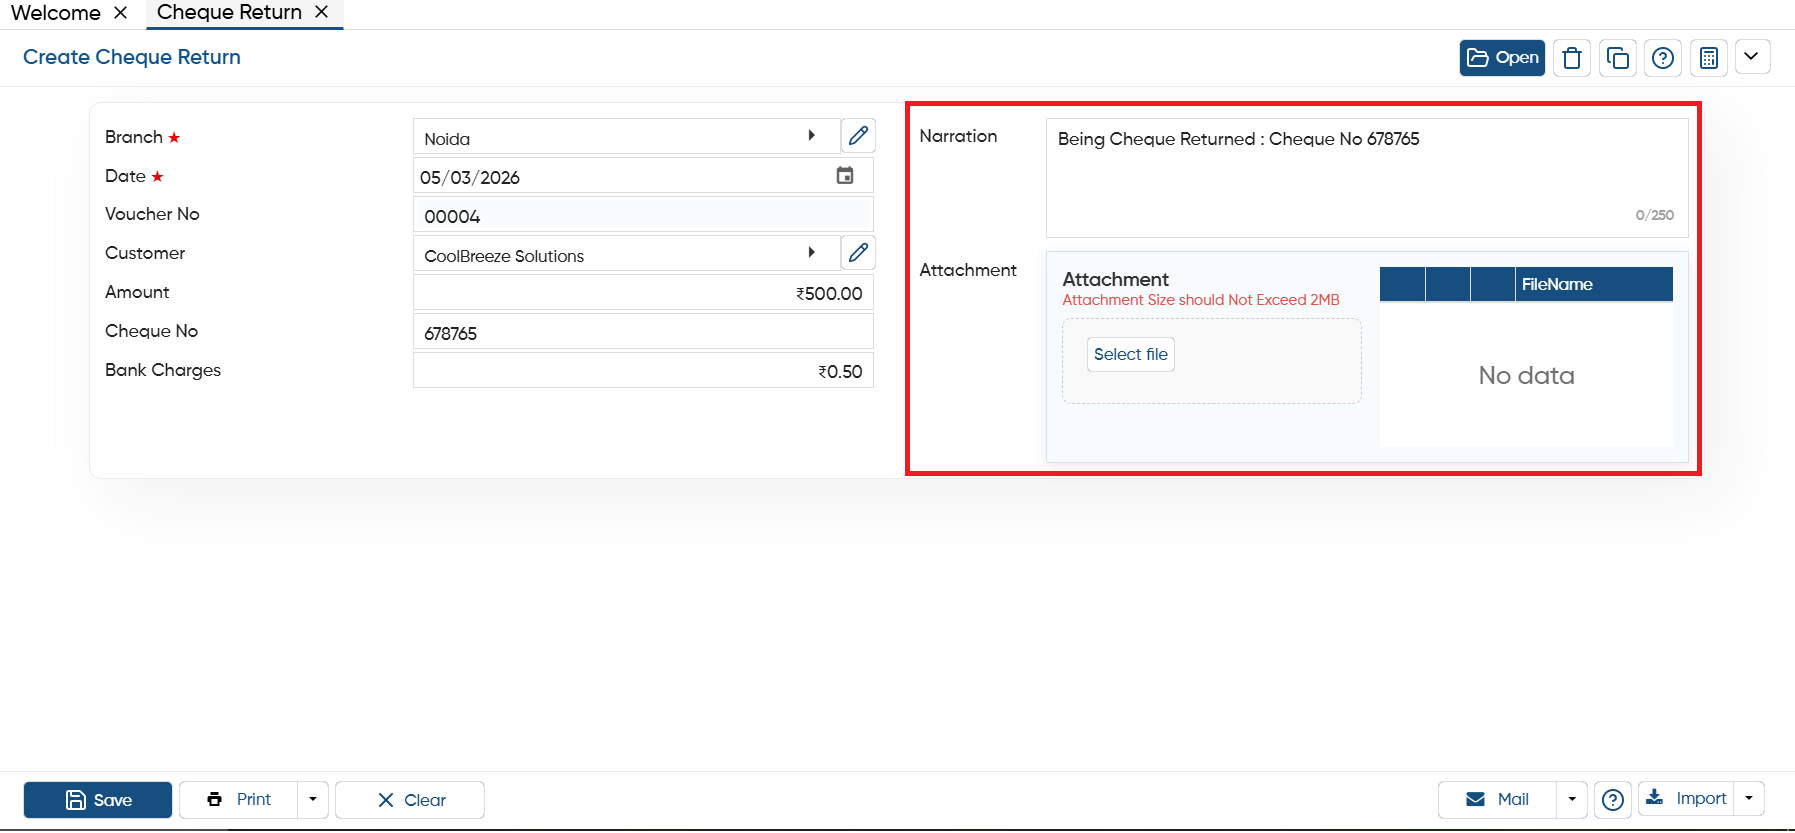
Remark: Click in the 'Remark' section, software will auto pick the remarks based on your selected customer name. Also, you can enter a remark as per your requirement.
-
Attachment: While creating a cheque return entry, if you need to attach any document or image related to it, click on the 'Select File' button. Then, choose the appropriate directory and upload the file.
-
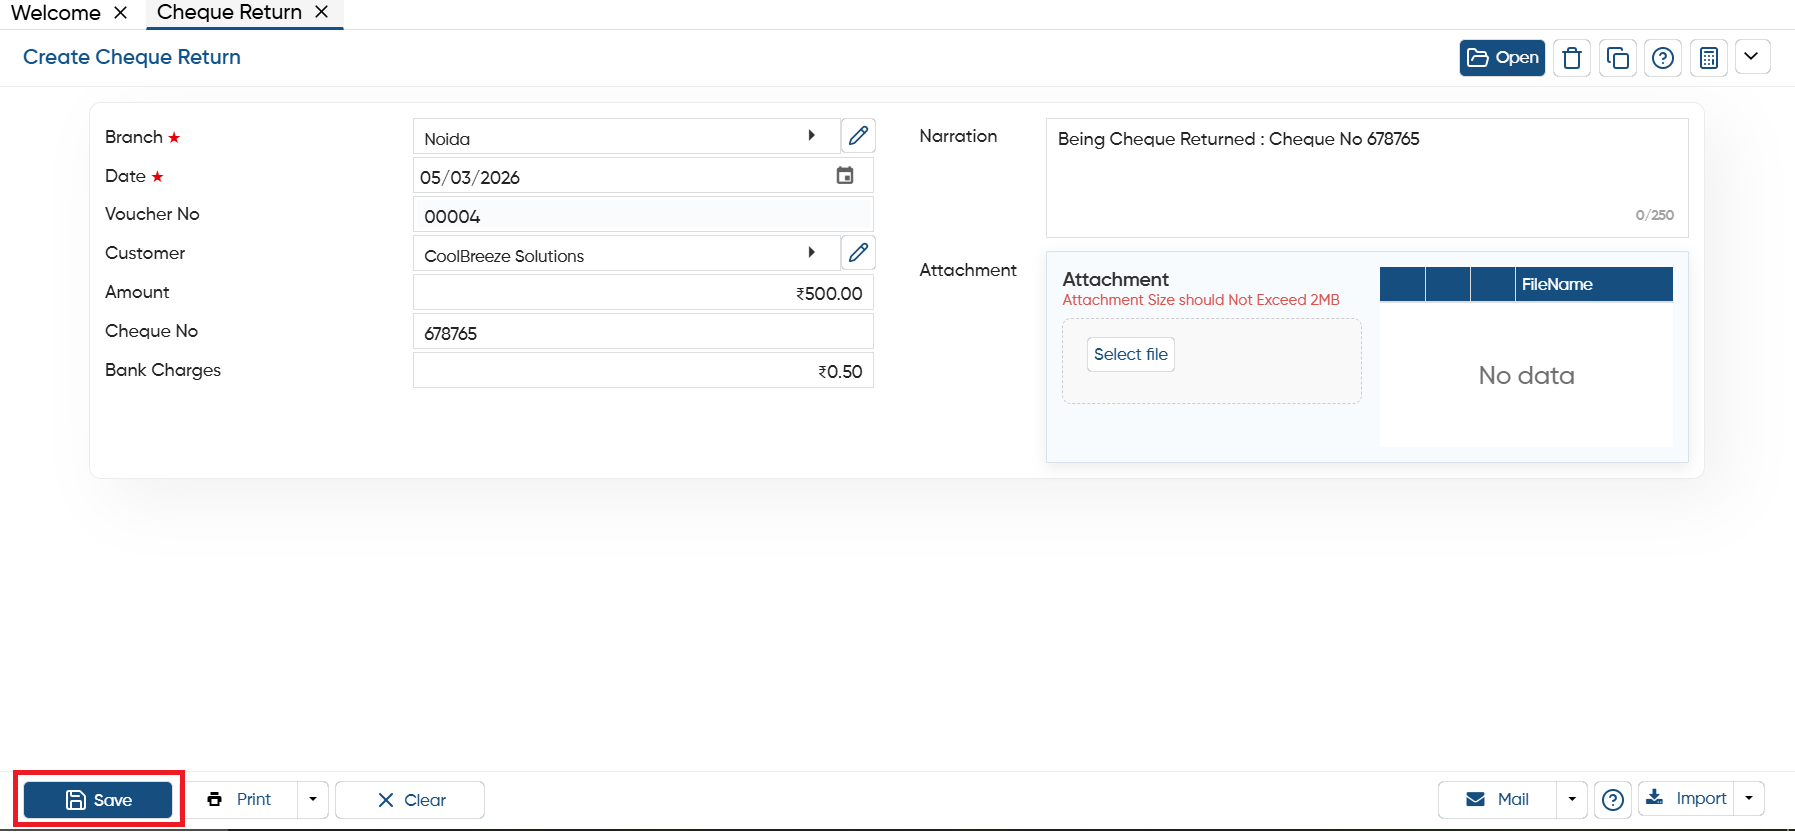
To save the invoice you need to click on the 'Save' button.
-
Preview: This option allows you to view a print preview of the cheque return entry before finalizing it.
-
Export: If you want to download the payment receipt as a PDF, click on the 'Export' button, select your preferred format, and the PDF of cheque return entry will be downloaded.
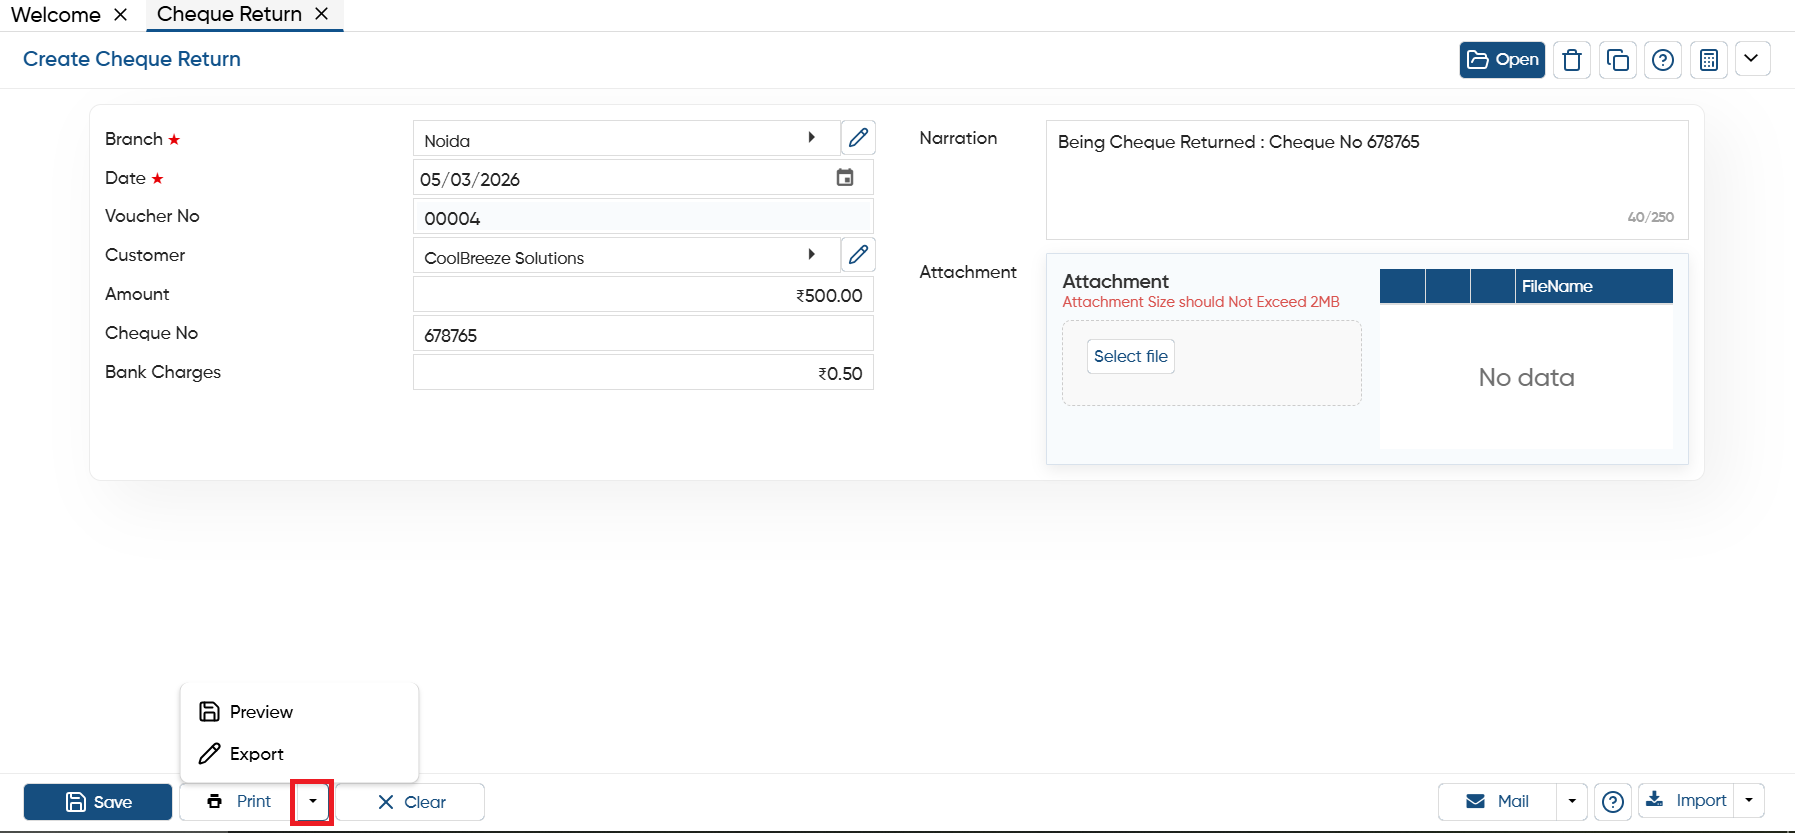
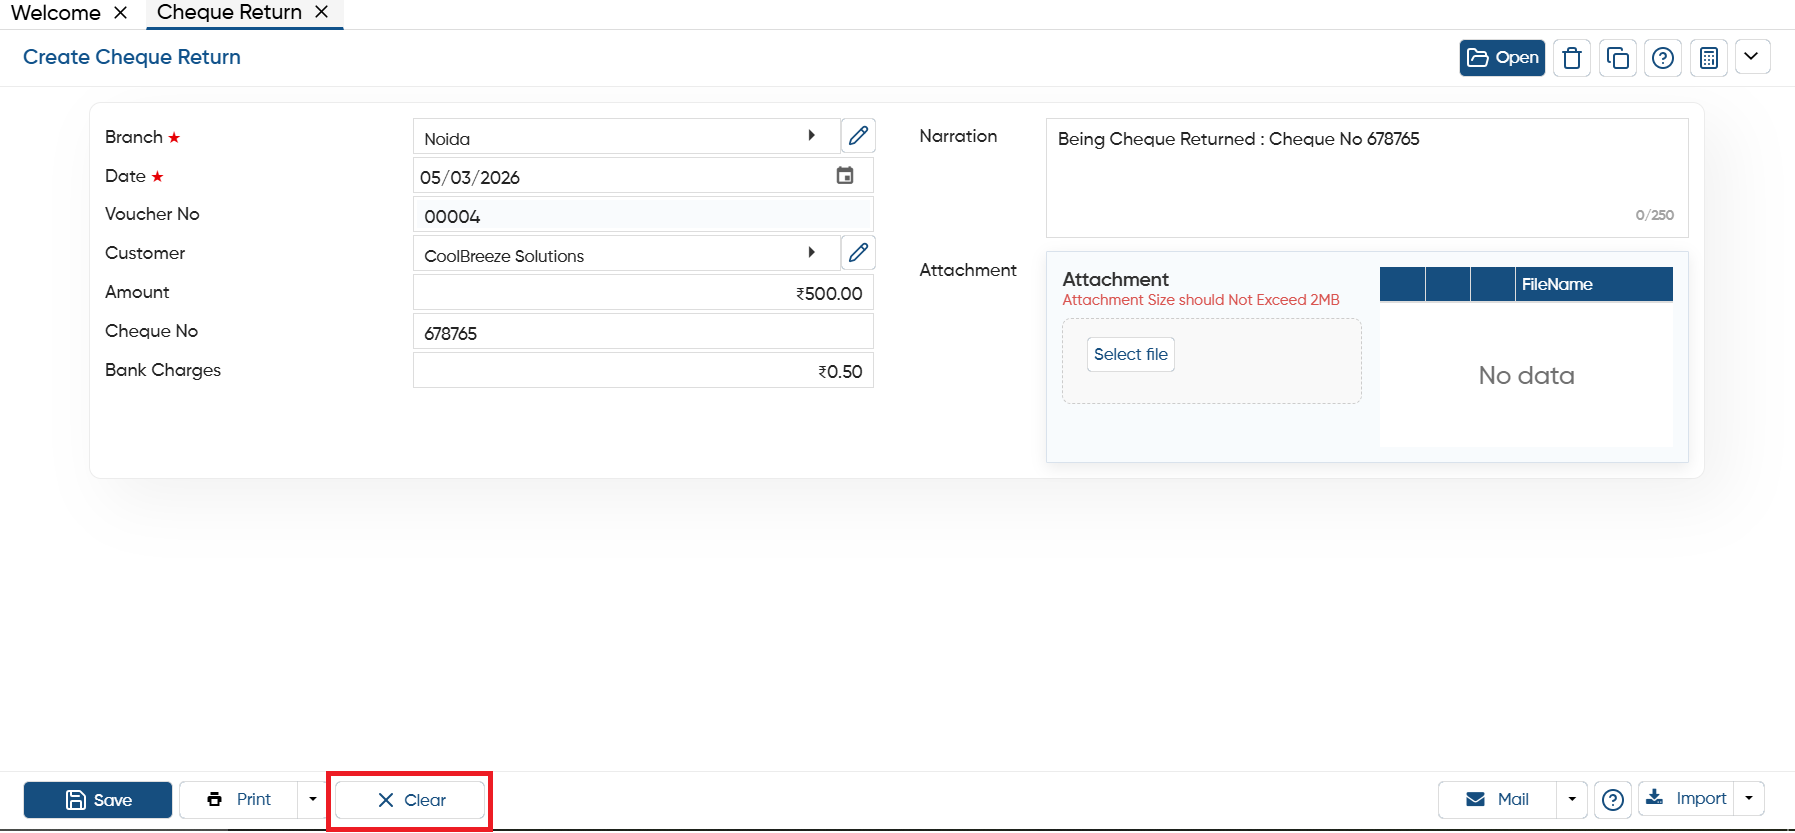
• If the data on the current screen is no longer needed or you want to start fresh with a new cheque return, click the 'Clear' button. This will remove all the data from the current sales return, giving you a clean slate to enter new details.
-
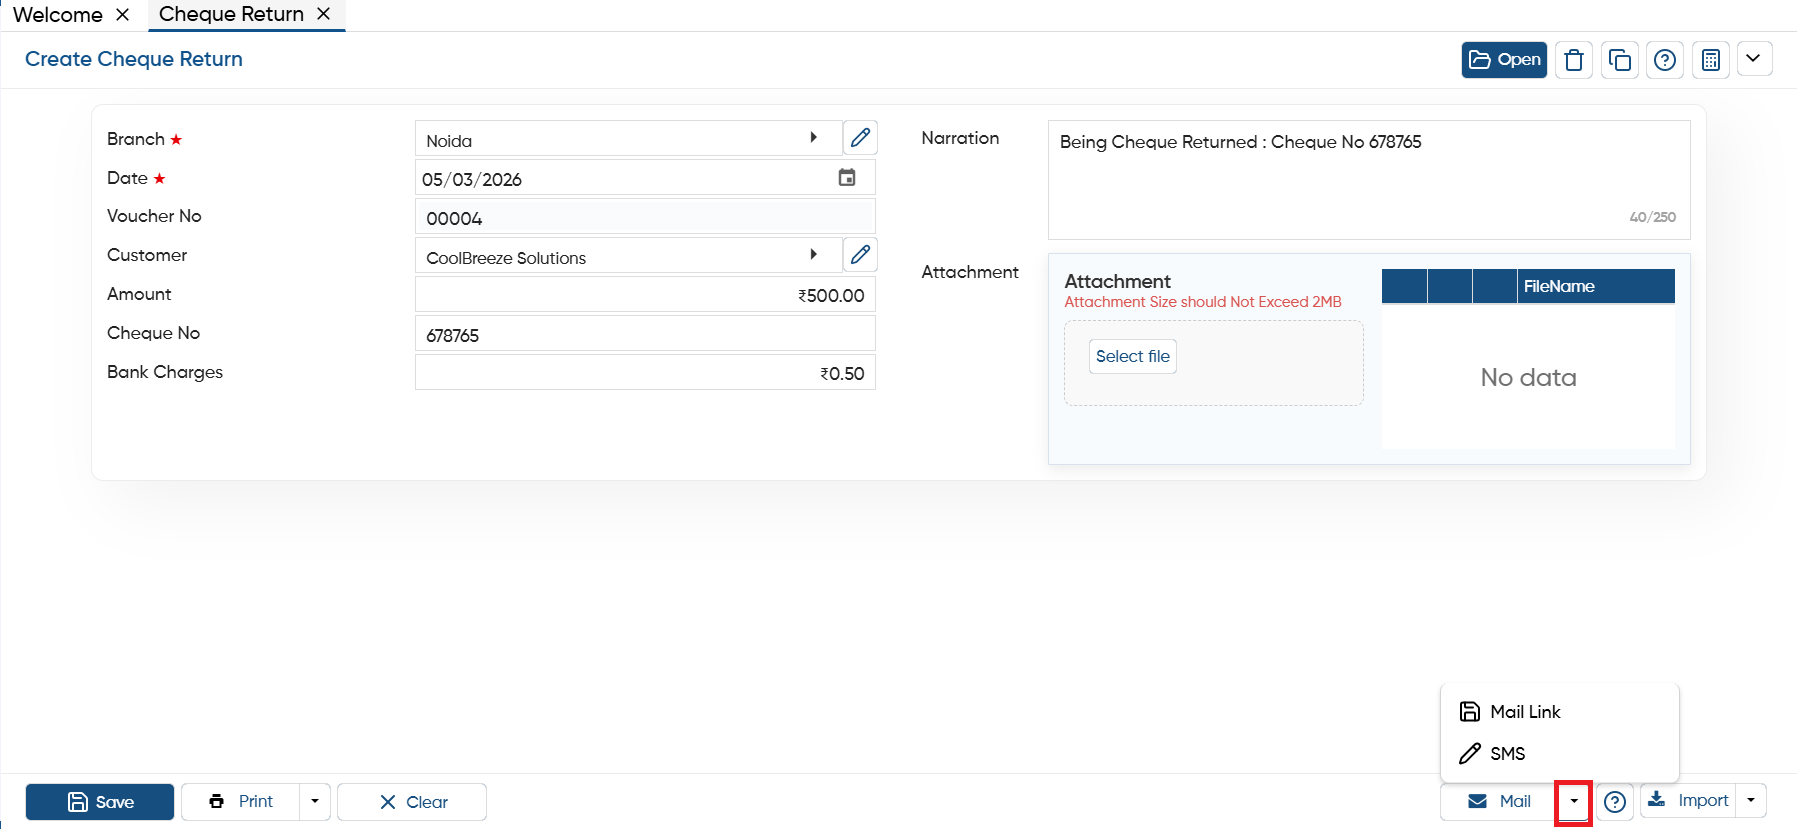
Mail Link: AlignBooks allows you to easily share the document link along with an attachment directly to the customer’s email address.
-
SMS: You can also send the document link and attachment via SMS to the customer, based on your preference.
For sharing invoice link and Attachment via Email and SMS you need to integrate Email and SMS setup in AlignBooks.
|
-
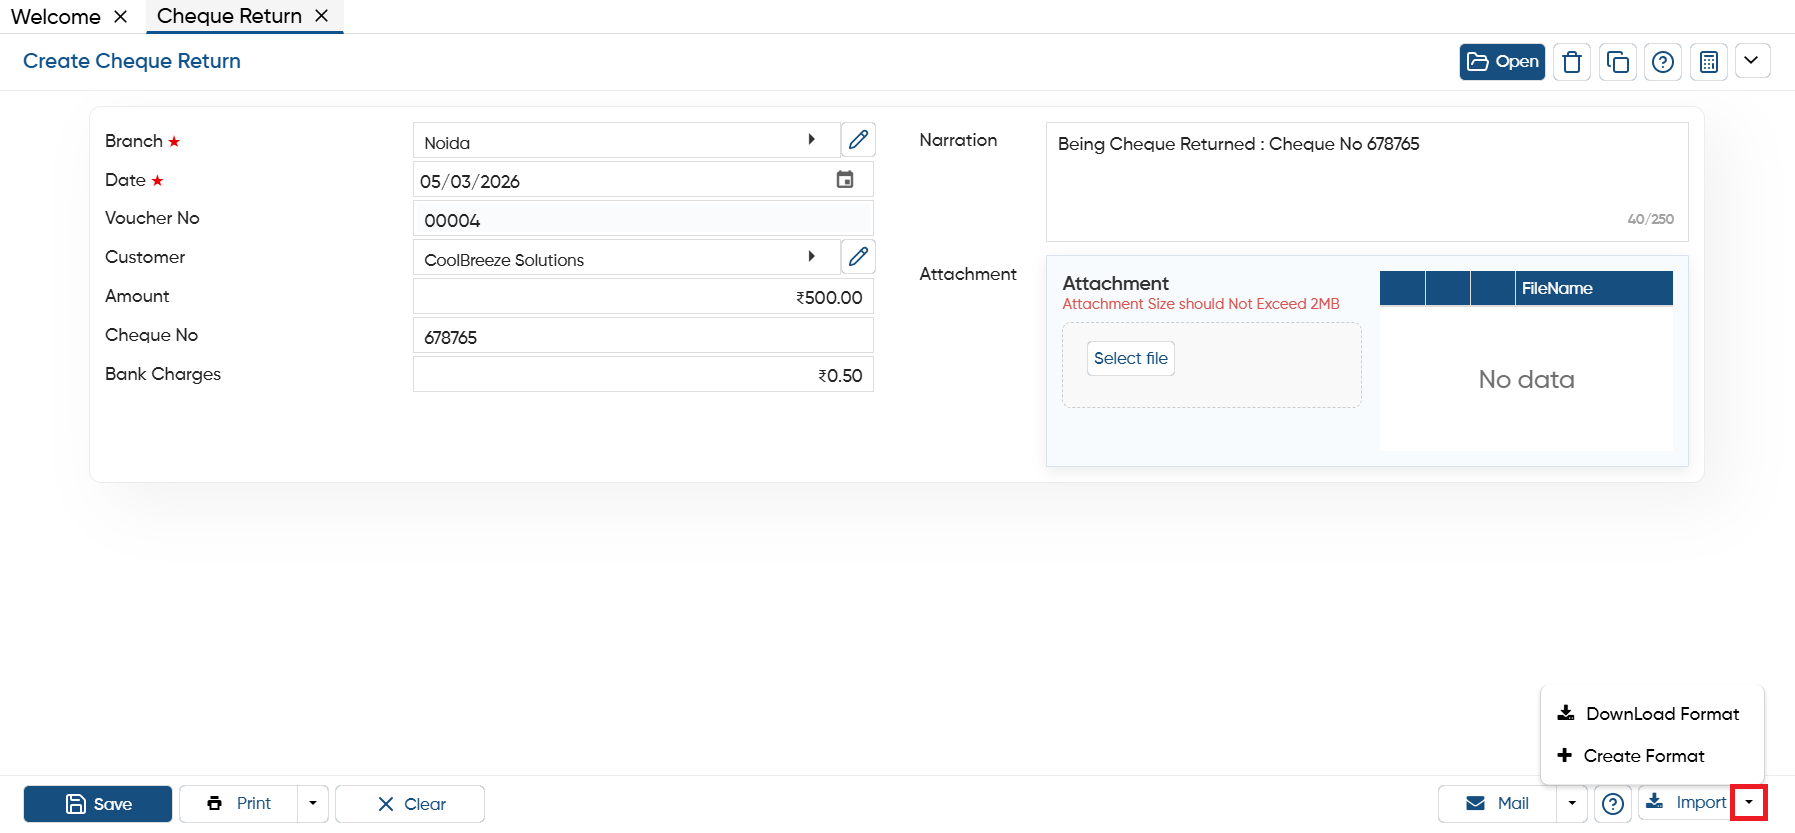
Download Format: If you want to import data from an Excel file, you can download the template through this option. After entering the data, you can directly import the file into AlignBooks.
-
Create Format: You can also create a custom format and map the columns with your Excel file. Make sure the field headings in the Excel file match those in the software when mapping the columns.
In this way you can Manage Cheque Return in AlignBooks.